


Linux

Linux (desktop or server)
After your payment clears, you get a download link for your Blackout VPN private keys (WireGuard configuration files). Install WireGuard for your distro, import the config, and you're connected instantly.
1. Install WireGuard
Choose your distro below. The code is direct from the official WireGuard documentation .
![]() Ubuntu
Ubuntu
Standard install from apt.
sudo apt install wireguard
![]() Debian
Debian
For Debian 10 (Buster) and older, enable backports first.
# Debian 11+
sudo apt install wireguard

# Debian 10 (Buster)
sudo apt update
sudo apt install wireguard -t buster-backports
![]() Fedora
Fedora
Install via DNF.
sudo dnf install wireguard-tools Mageia›
Install via urpmi.
sudo urpmi wireguard-tools Arch Linux›
Use LTS or DKMS packages for kernels under 5.6.
sudo pacman -S wireguard-tools OpenSUSE / SLE›
Install using zypper.
sudo zypper install wireguard-tools Slackware›
Install via slackpkg.
sudo slackpkg install wireguard-tools Alpine Linux›
Latest tools from apk.
apk add -U wireguard-tools Gentoo›
wireguard-modules available for older kernels.
emerge wireguard-tools NixOS›
Add WireGuard to boot and system packages in configuration.nix.
boot.extraModulePackages = [ config.boot.kernelPackages.wireguard ];
environment.systemPackages = [ pkgs.wireguard pkgs.wireguard-tools ];
Verify installation: wg --version
2. Import your Blackout VPN config
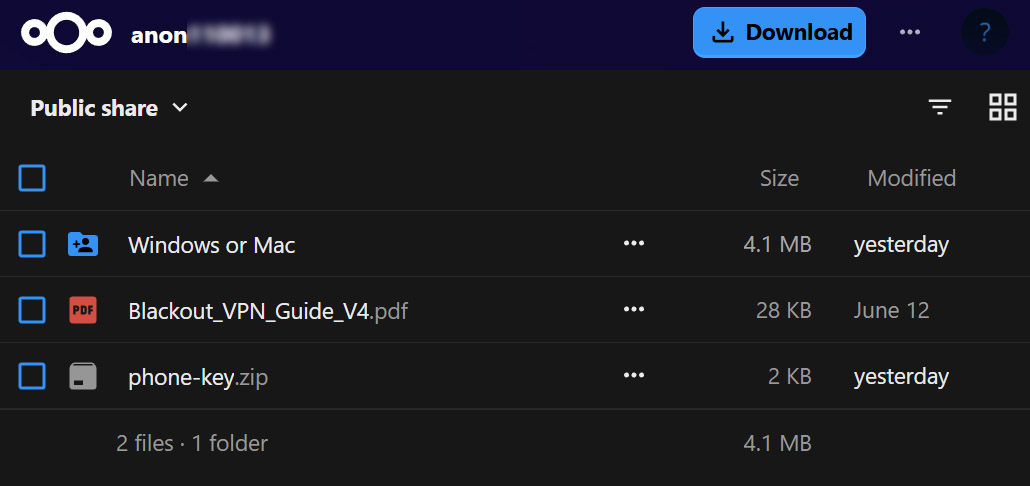
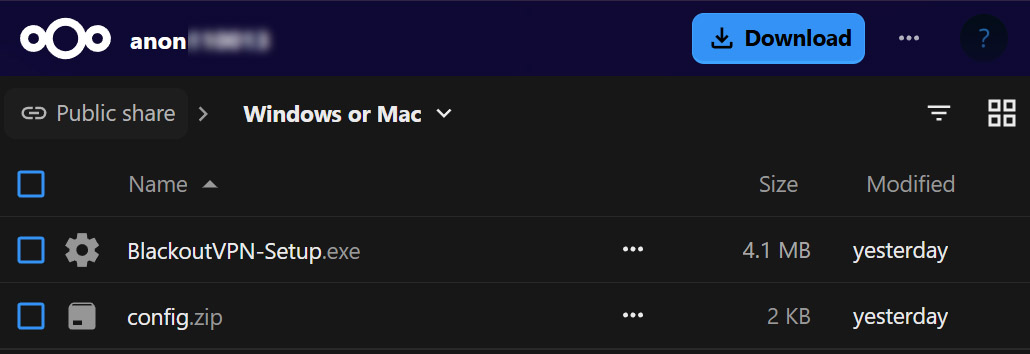
- After purchase, open your download link and go into the
Windows or Macfolder. Your Linux config is theconfig.zipinside it, holding one or more.conftunnel files. Click the three dots besideconfig.zipor right-click it, and choose Download. -
Unzip the archive and place your
.conffiles into/etc/wireguard/(ex:/etc/wireguard/Iceland.conf). -
Secure the file so only root can read it:
sudo chmod 600 /etc/wireguard/Iceland.conf -
Bring the tunnel online:
sudo wg-quick up IcelandReplaceIcelandwith your config name (without.conf). -
Verify the tunnel is active:
sudo wg show(Shows peers, handshake status and traffic.) -
Disconnect when finished:
sudo wg-quick down Iceland -
Optional: Enable auto-start on boot:
sudo systemctl enable wg-quick@Iceland -
NixOS users: Use declarative configuration via
configuration.nix(see the NixOS Wiki).
Troubleshooting: If the tunnel fails to start, check logs with
sudo journalctl -u wg-quick@Iceland.
For advanced network setups or kernel-module builds, see the full WireGuard documentation .