


Windows
Windows 11 & 10 Installer
After your payment clears, you get your download link straight away. Your download includes the installer plus your config keys. No logins. Just download, run, and you’re online. Watch the video or follow the step-by-step guide below.
How to install Blackout VPN on Windows
Step 1. Download your files›
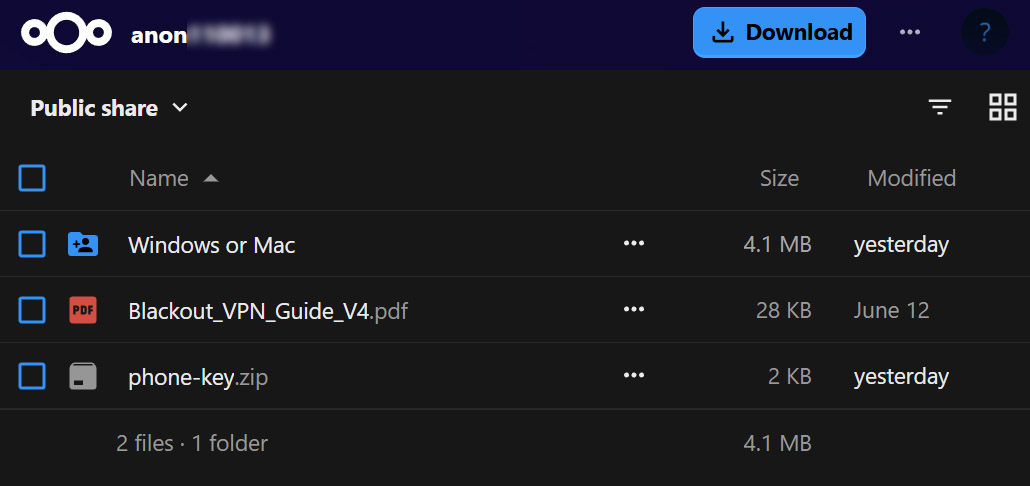
Your download opens with a folder named Windows or Mac, the setup guide PDF, and phone-key.zip. You only need the Windows or Mac folder. Click the three dots beside it or right-click it, and choose Download.
Step 2. Extract the zip›
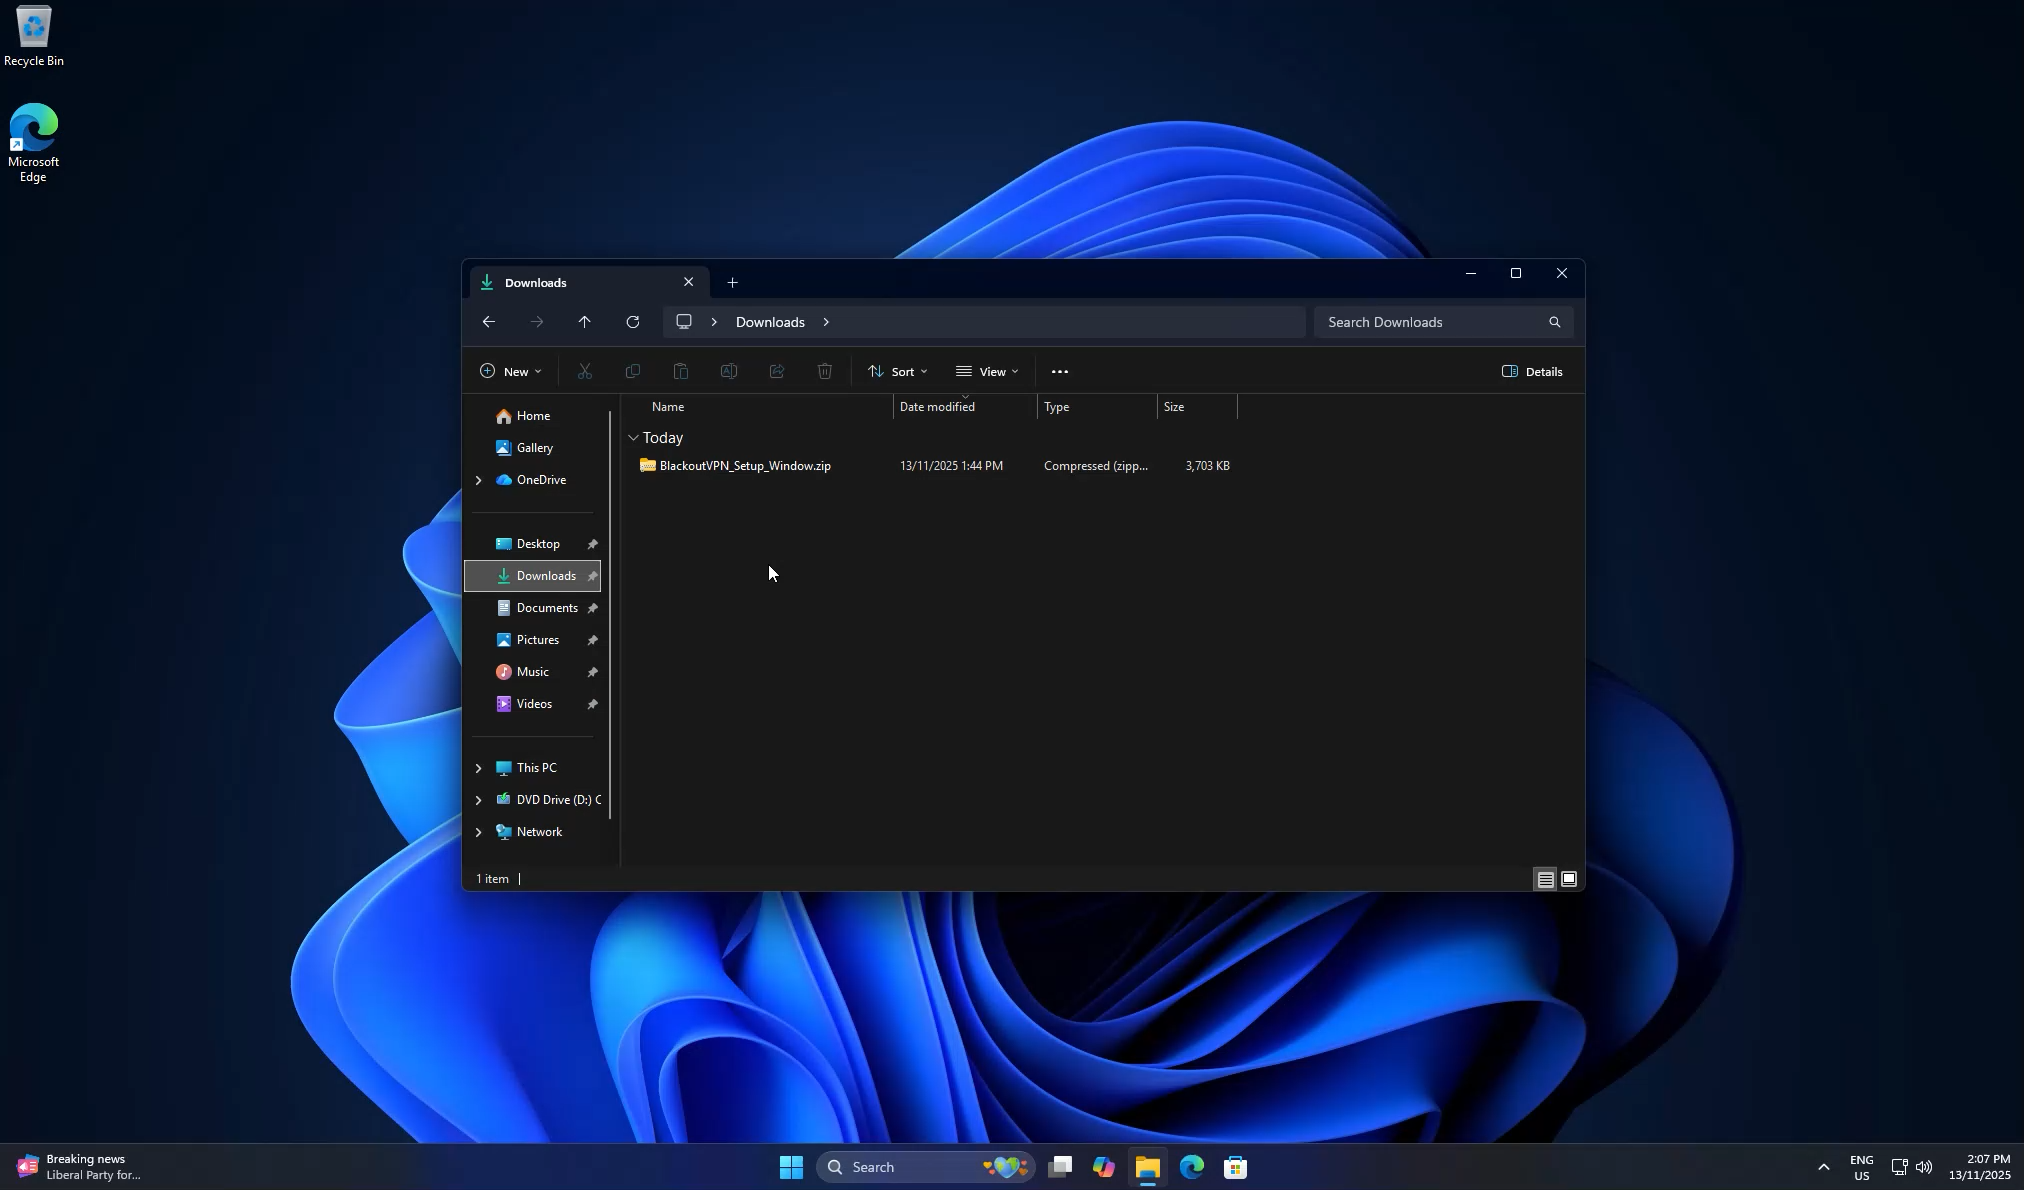
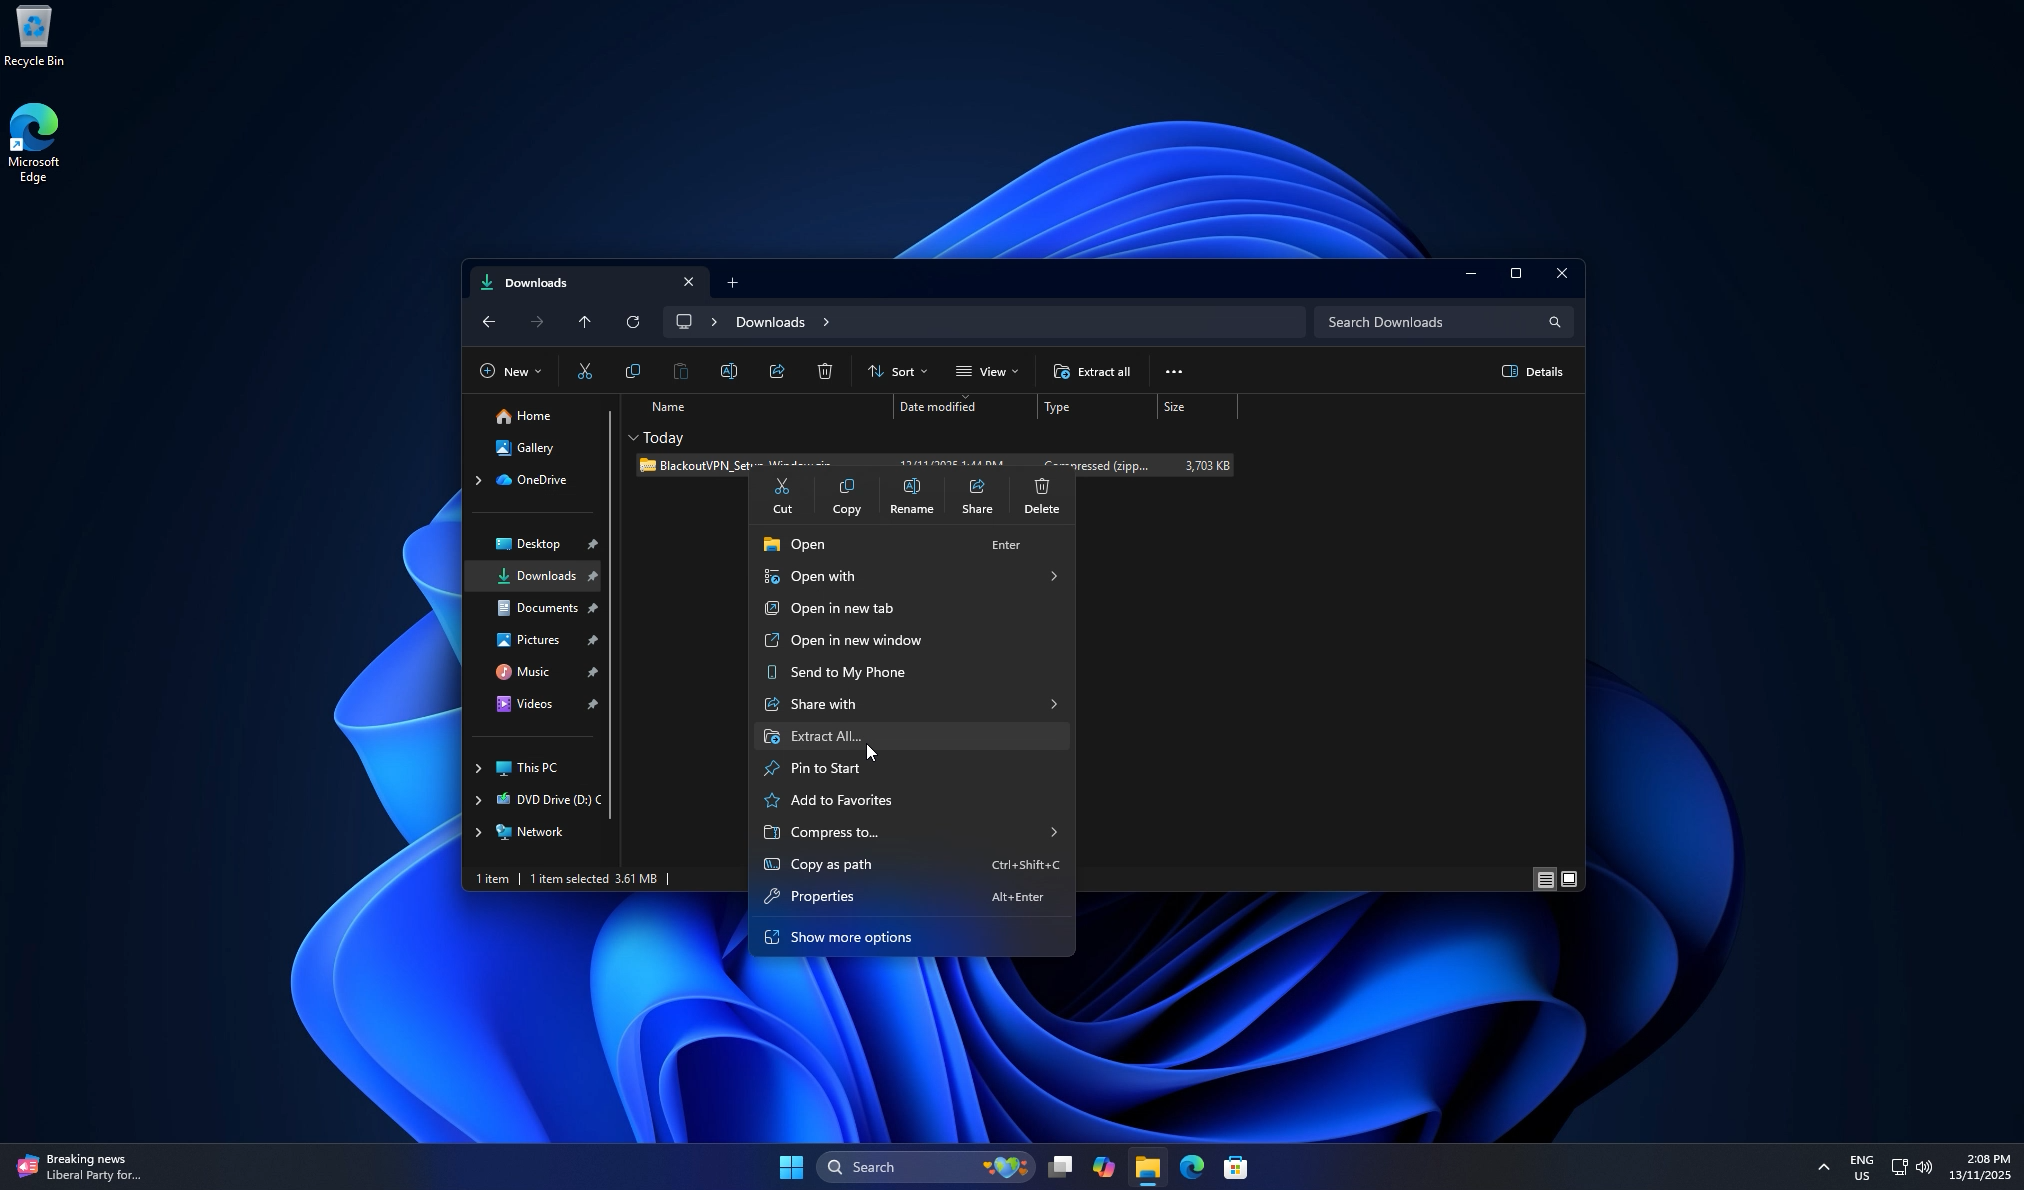
Your download lands in your Downloads folder. Right-click the zip and choose Extract All…, then click Extract to unpack it.
Step 3. Open the Windows or Mac folder›
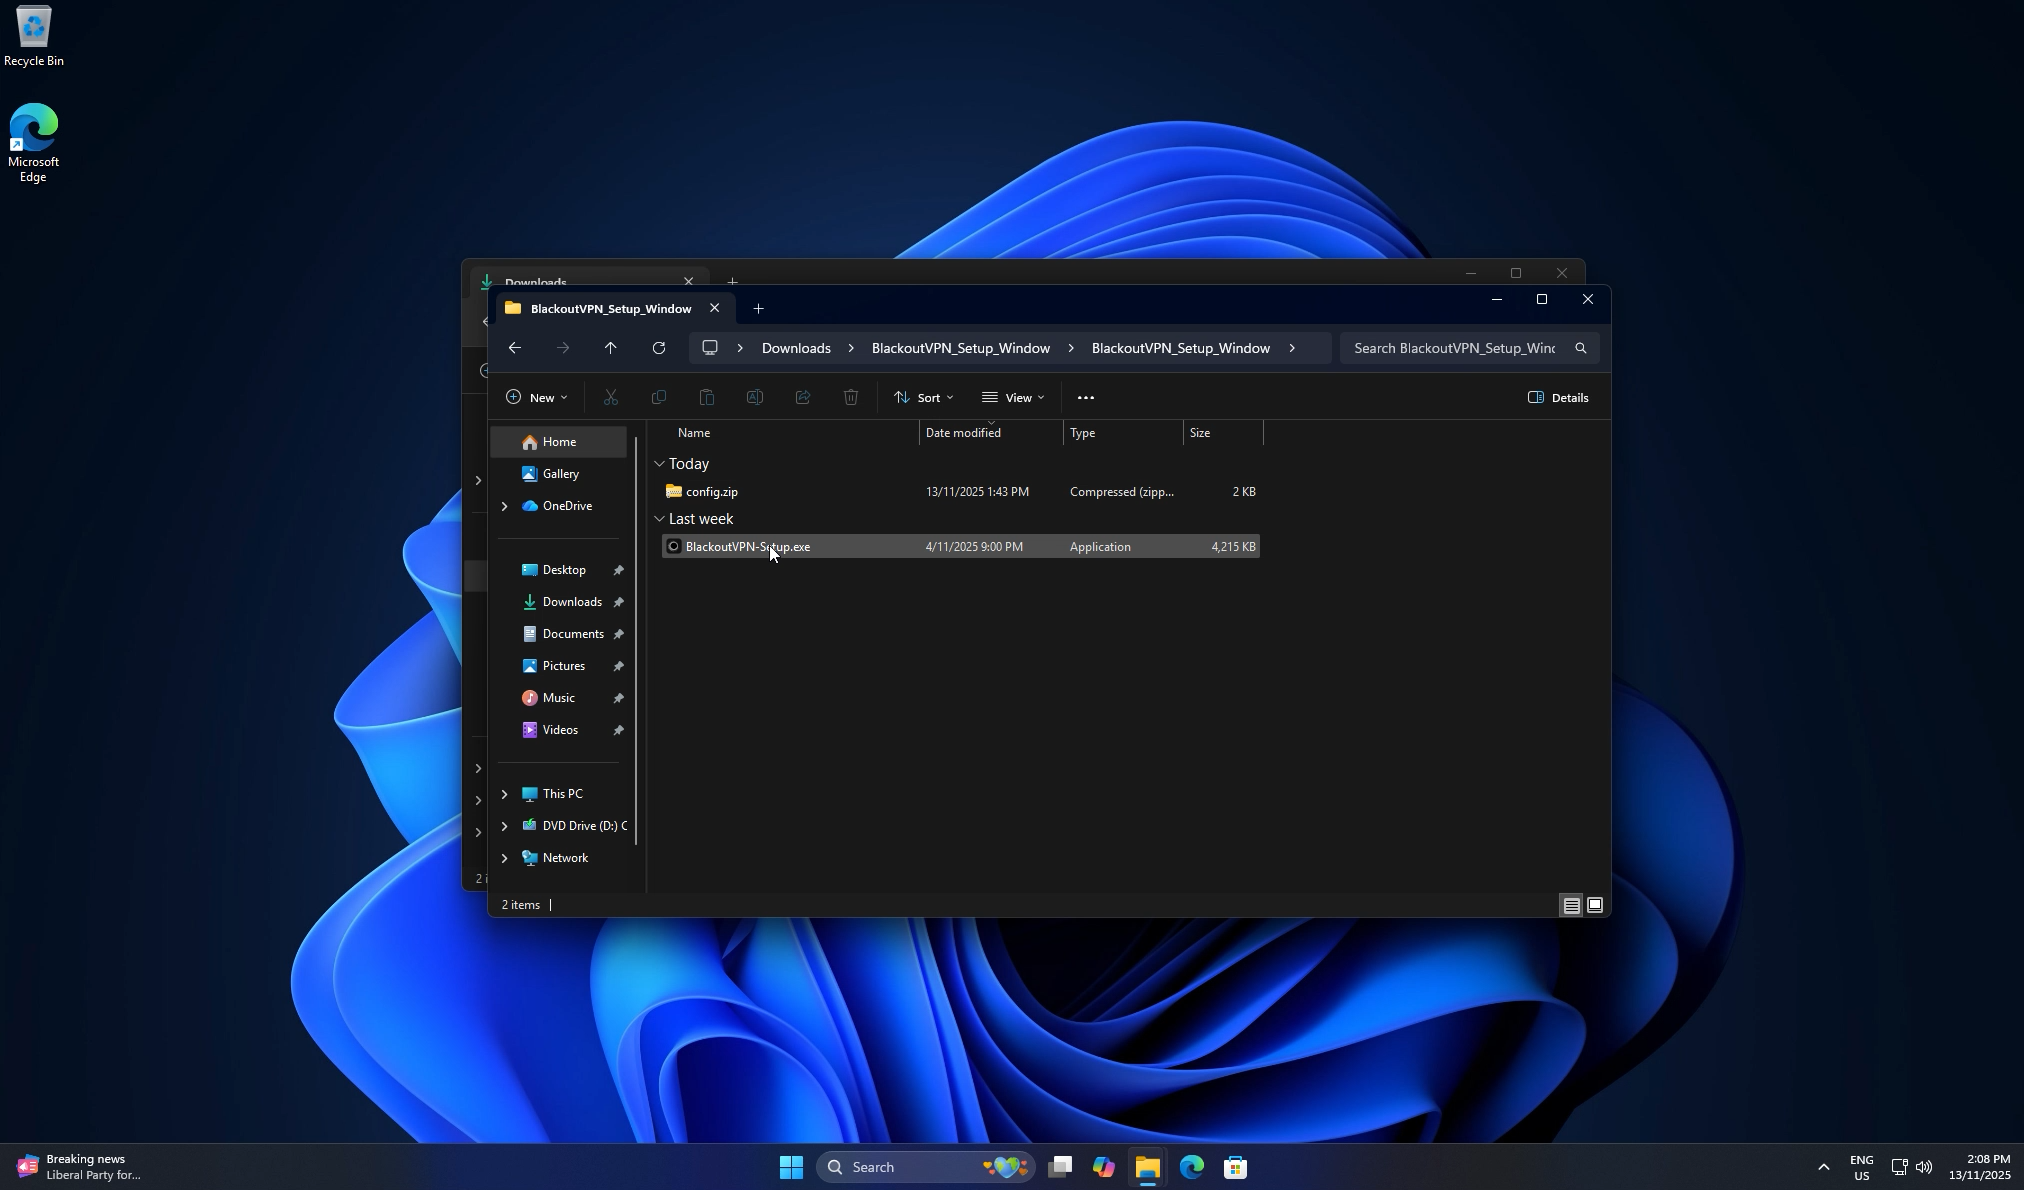
Open the extracted Windows or Mac folder. Inside you will see BlackoutVPN-Setup.exe and config.zip. Keep the two together, the installer needs config.zip beside it.
Step 4. Run the installer›
Run BlackoutVPN-Setup.exe. When Windows shows a security prompt, click Yes. This is expected.

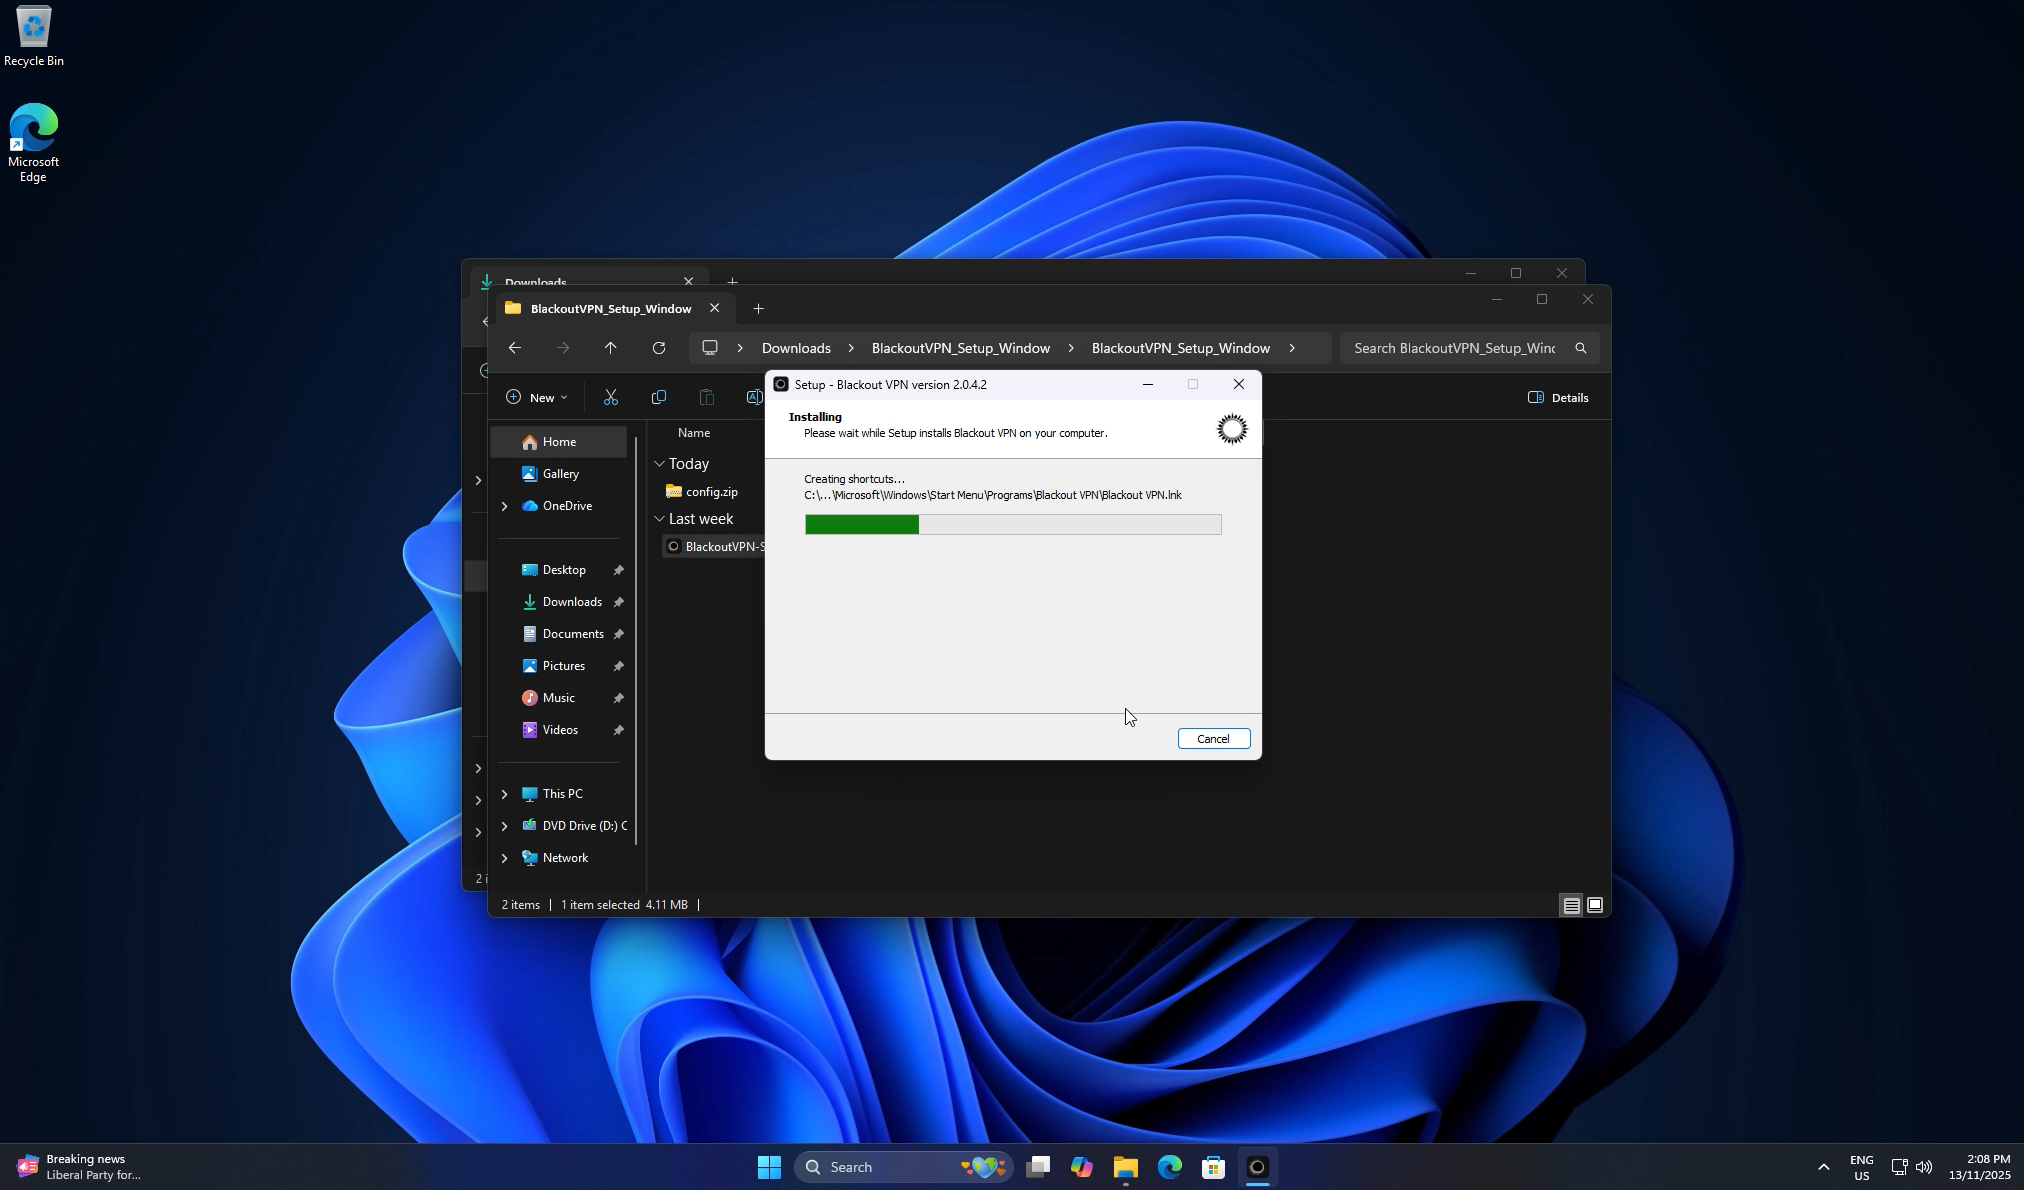
Step 5. Follow the setup wizard›
Follow the setup wizard, keep the desktop shortcut checked if you want it, then click Install.
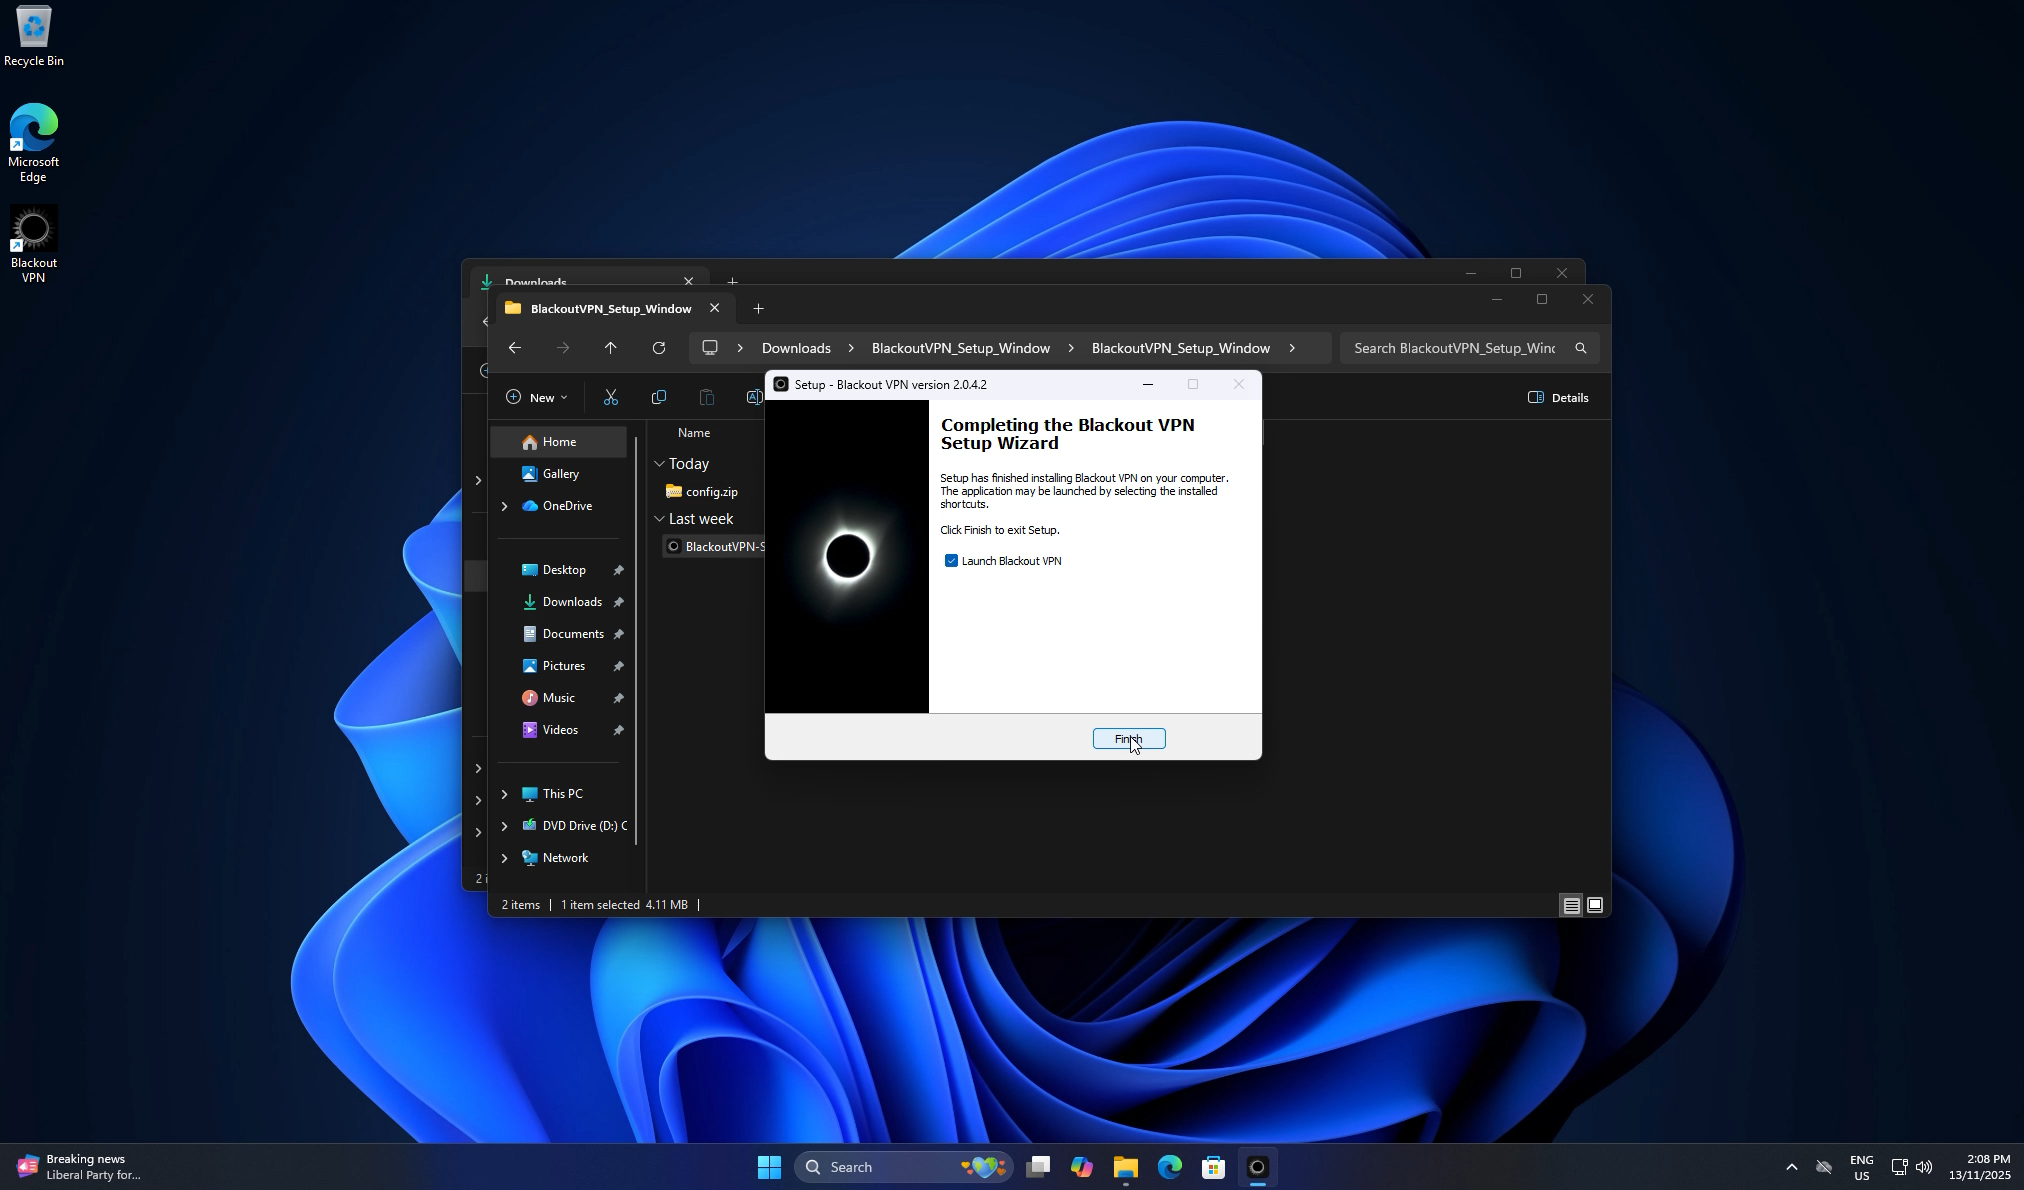
Step 6. Finish and launch›
When setup finishes, leave Launch Blackout VPN ticked and click Finish.
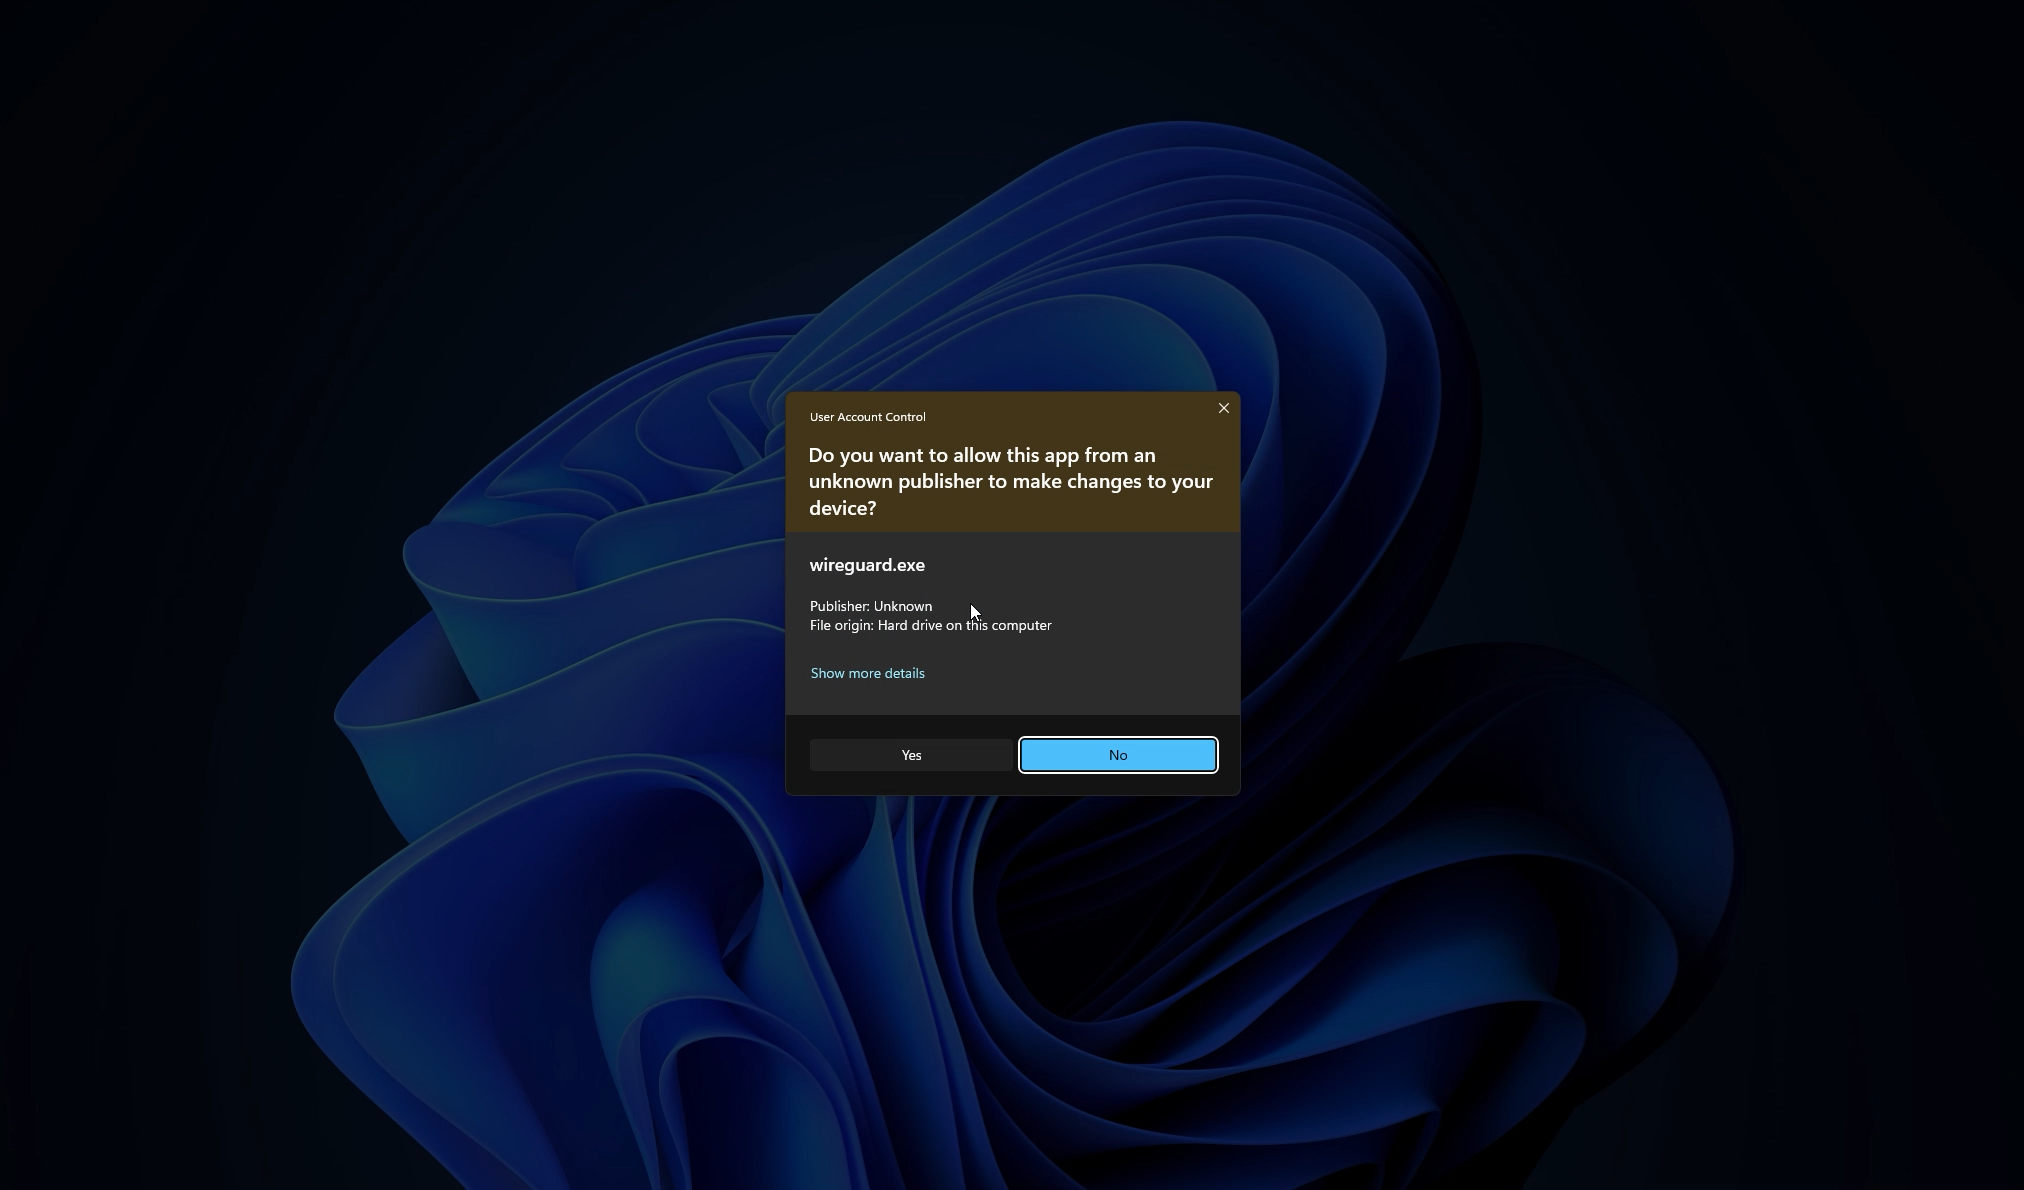
Step 7. Allow the WireGuard engine›
Windows will ask again for permission to run the WireGuard engine. Click Yes.
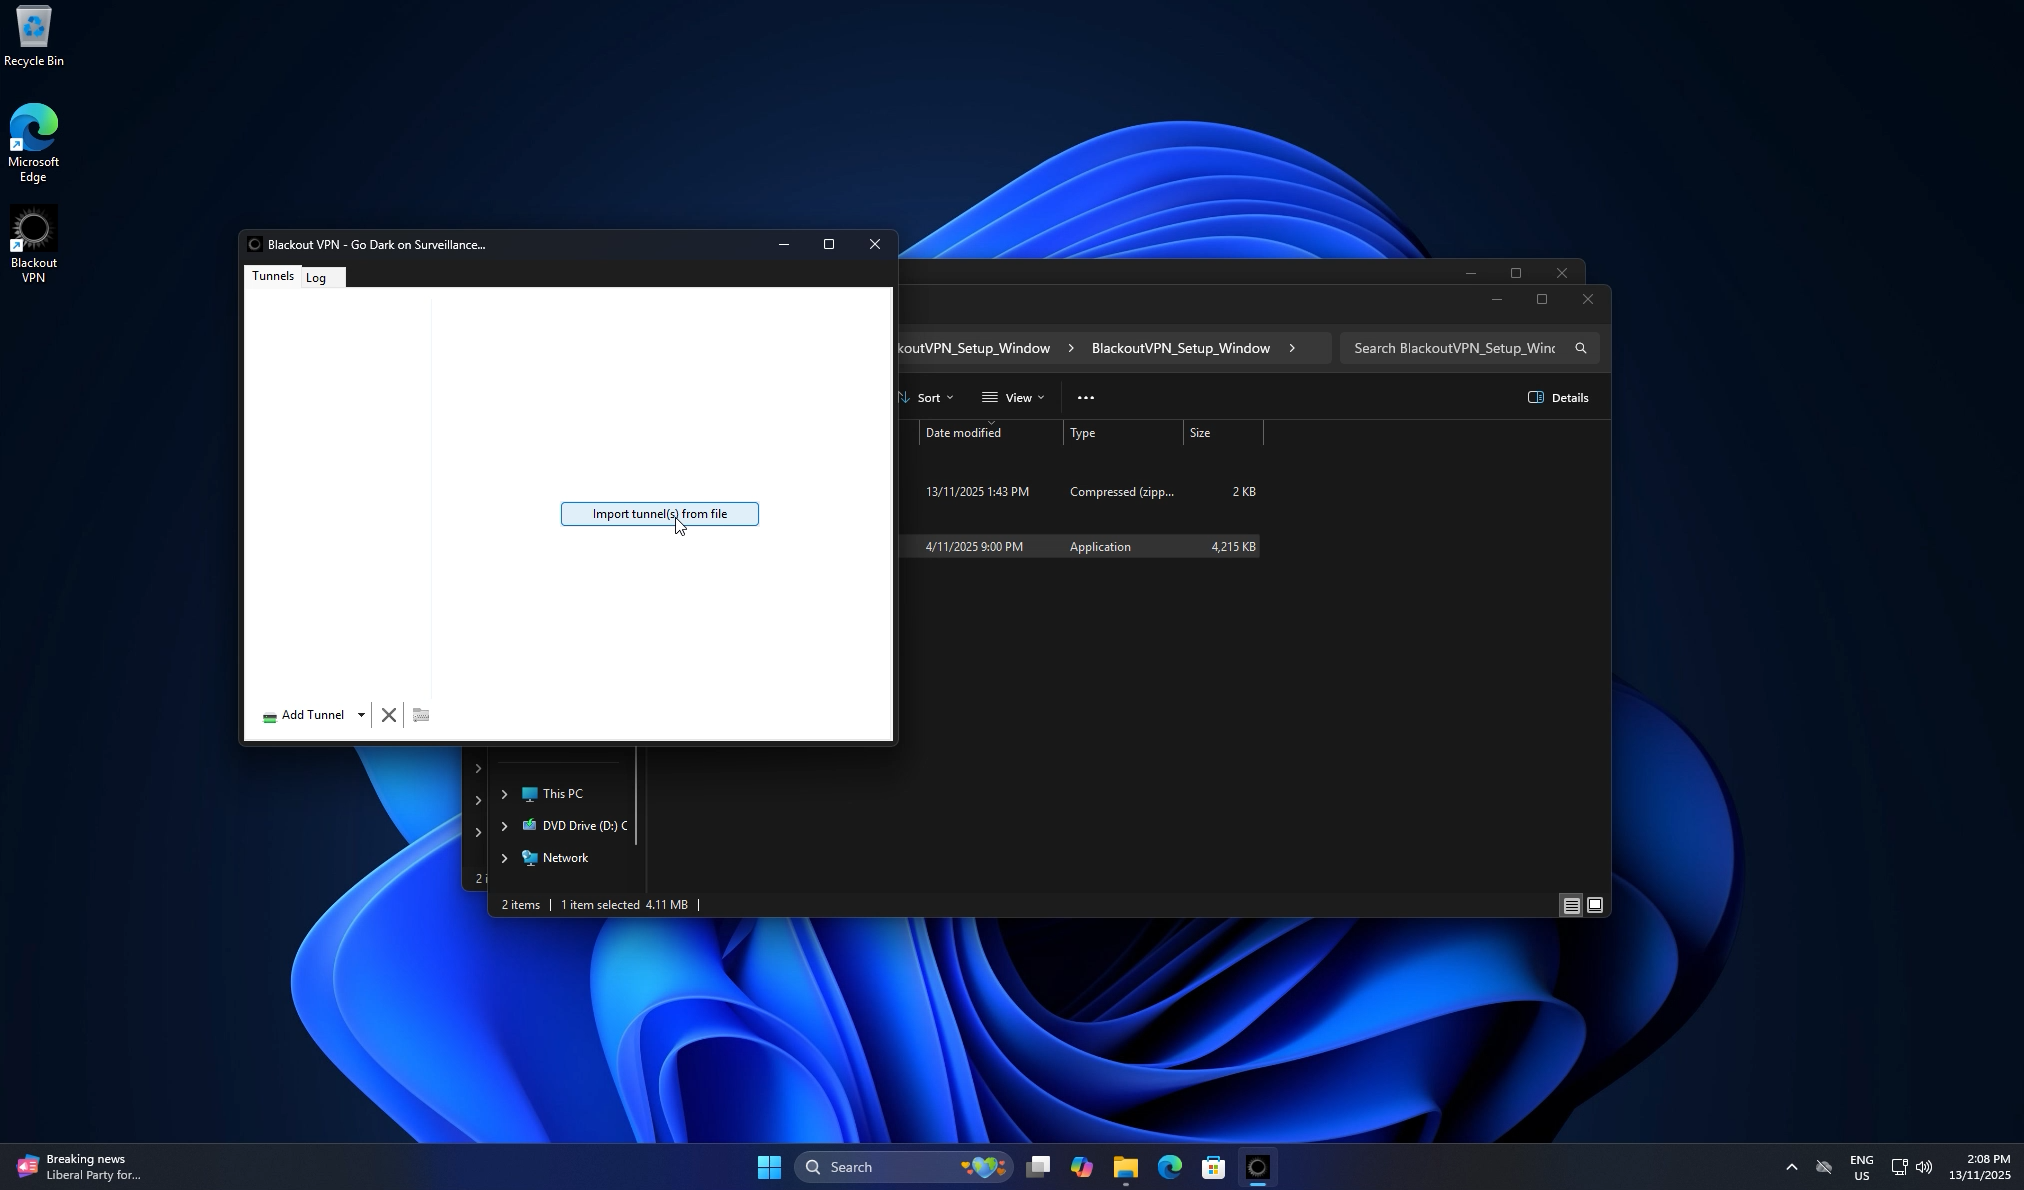
Step 8. Open the app and import›
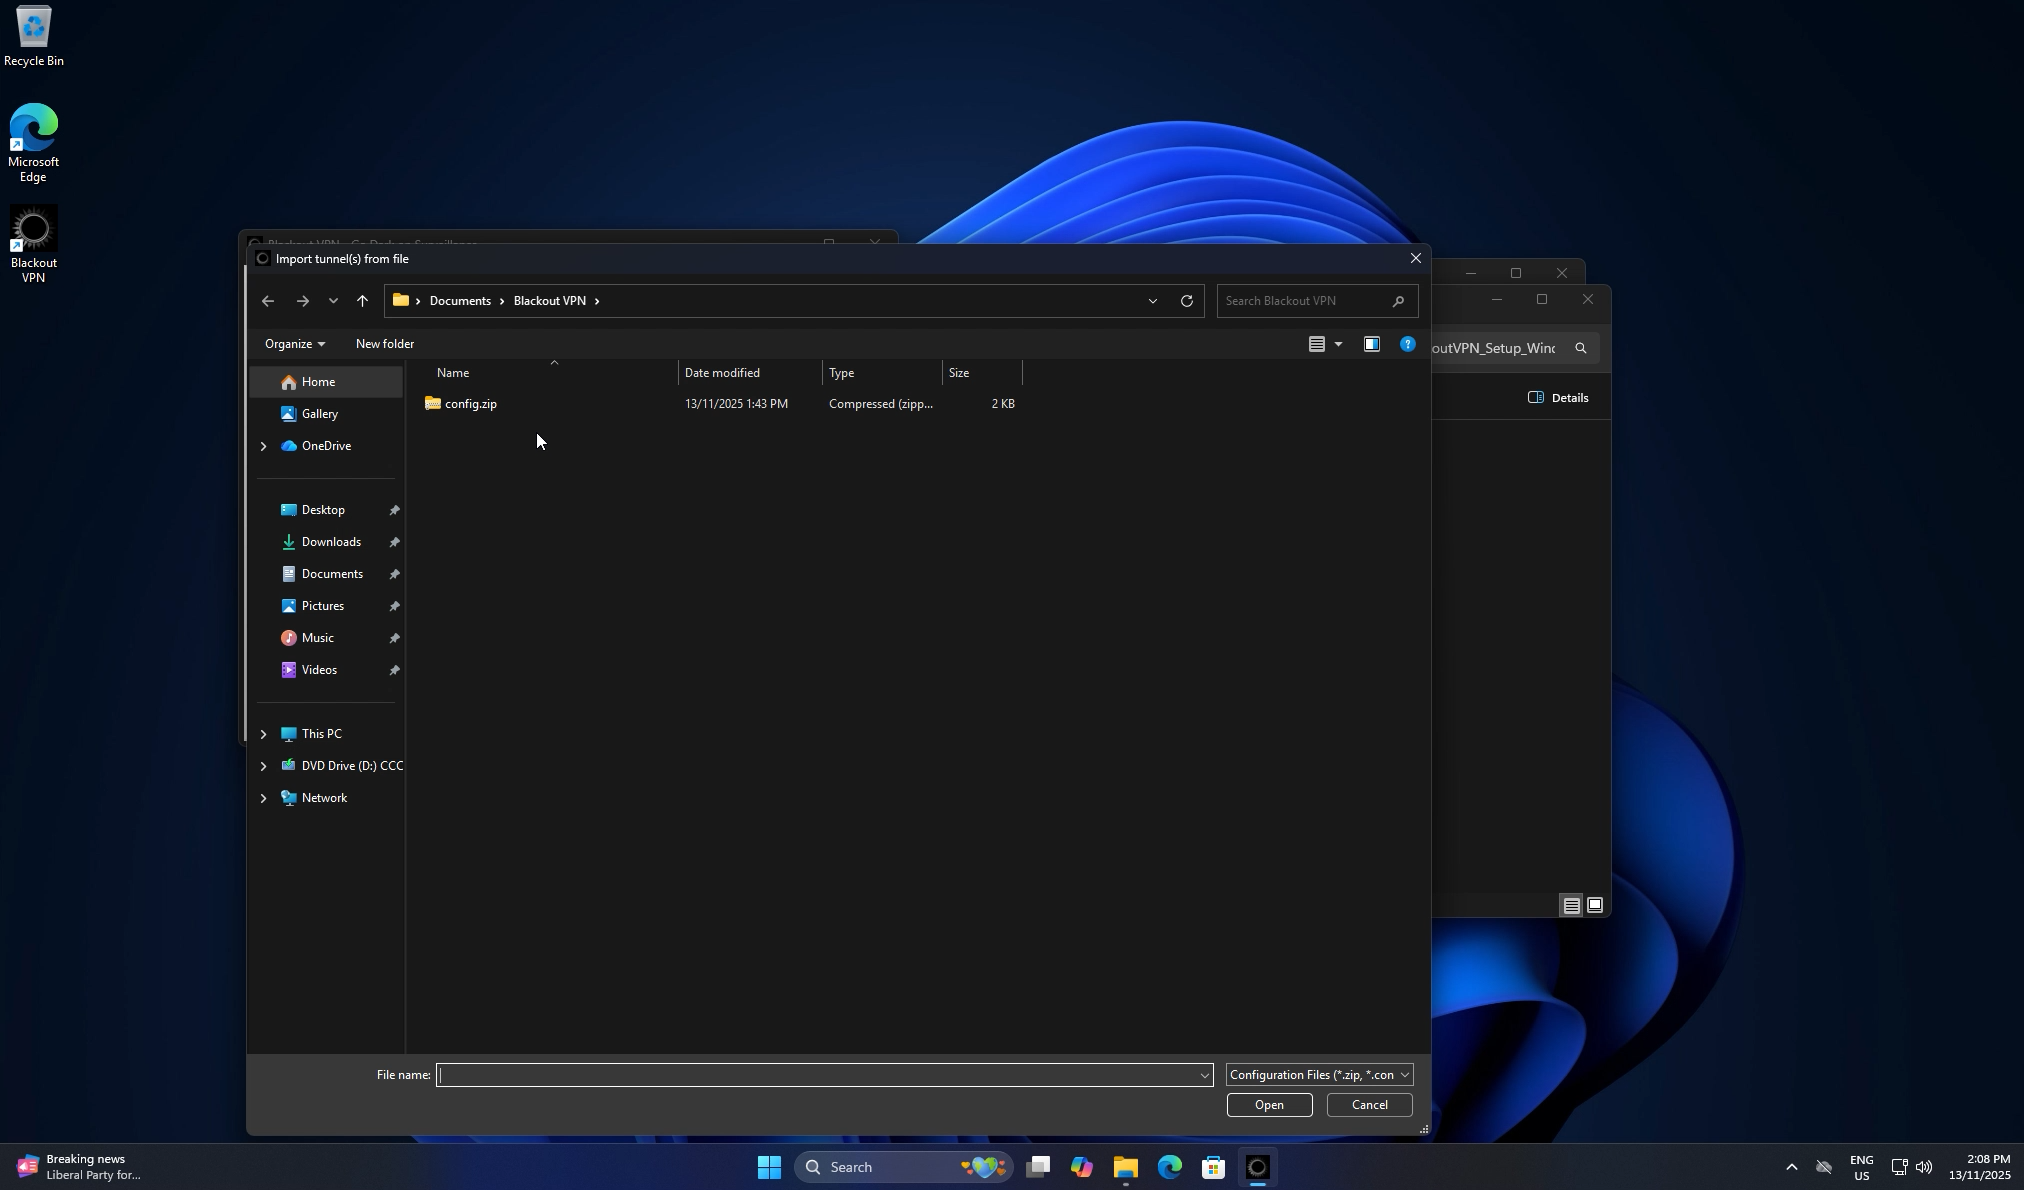
Blackout VPN opens. Click Import tunnel(s) from file.
Step 9. Select your config.zip›
Browse to your config.zip and click Open. You can import it from wherever you saved it, such as your Downloads or the extracted Windows or Mac folder. The installer also drops a backup copy in Documents → Blackout VPN. Your keys import automatically.
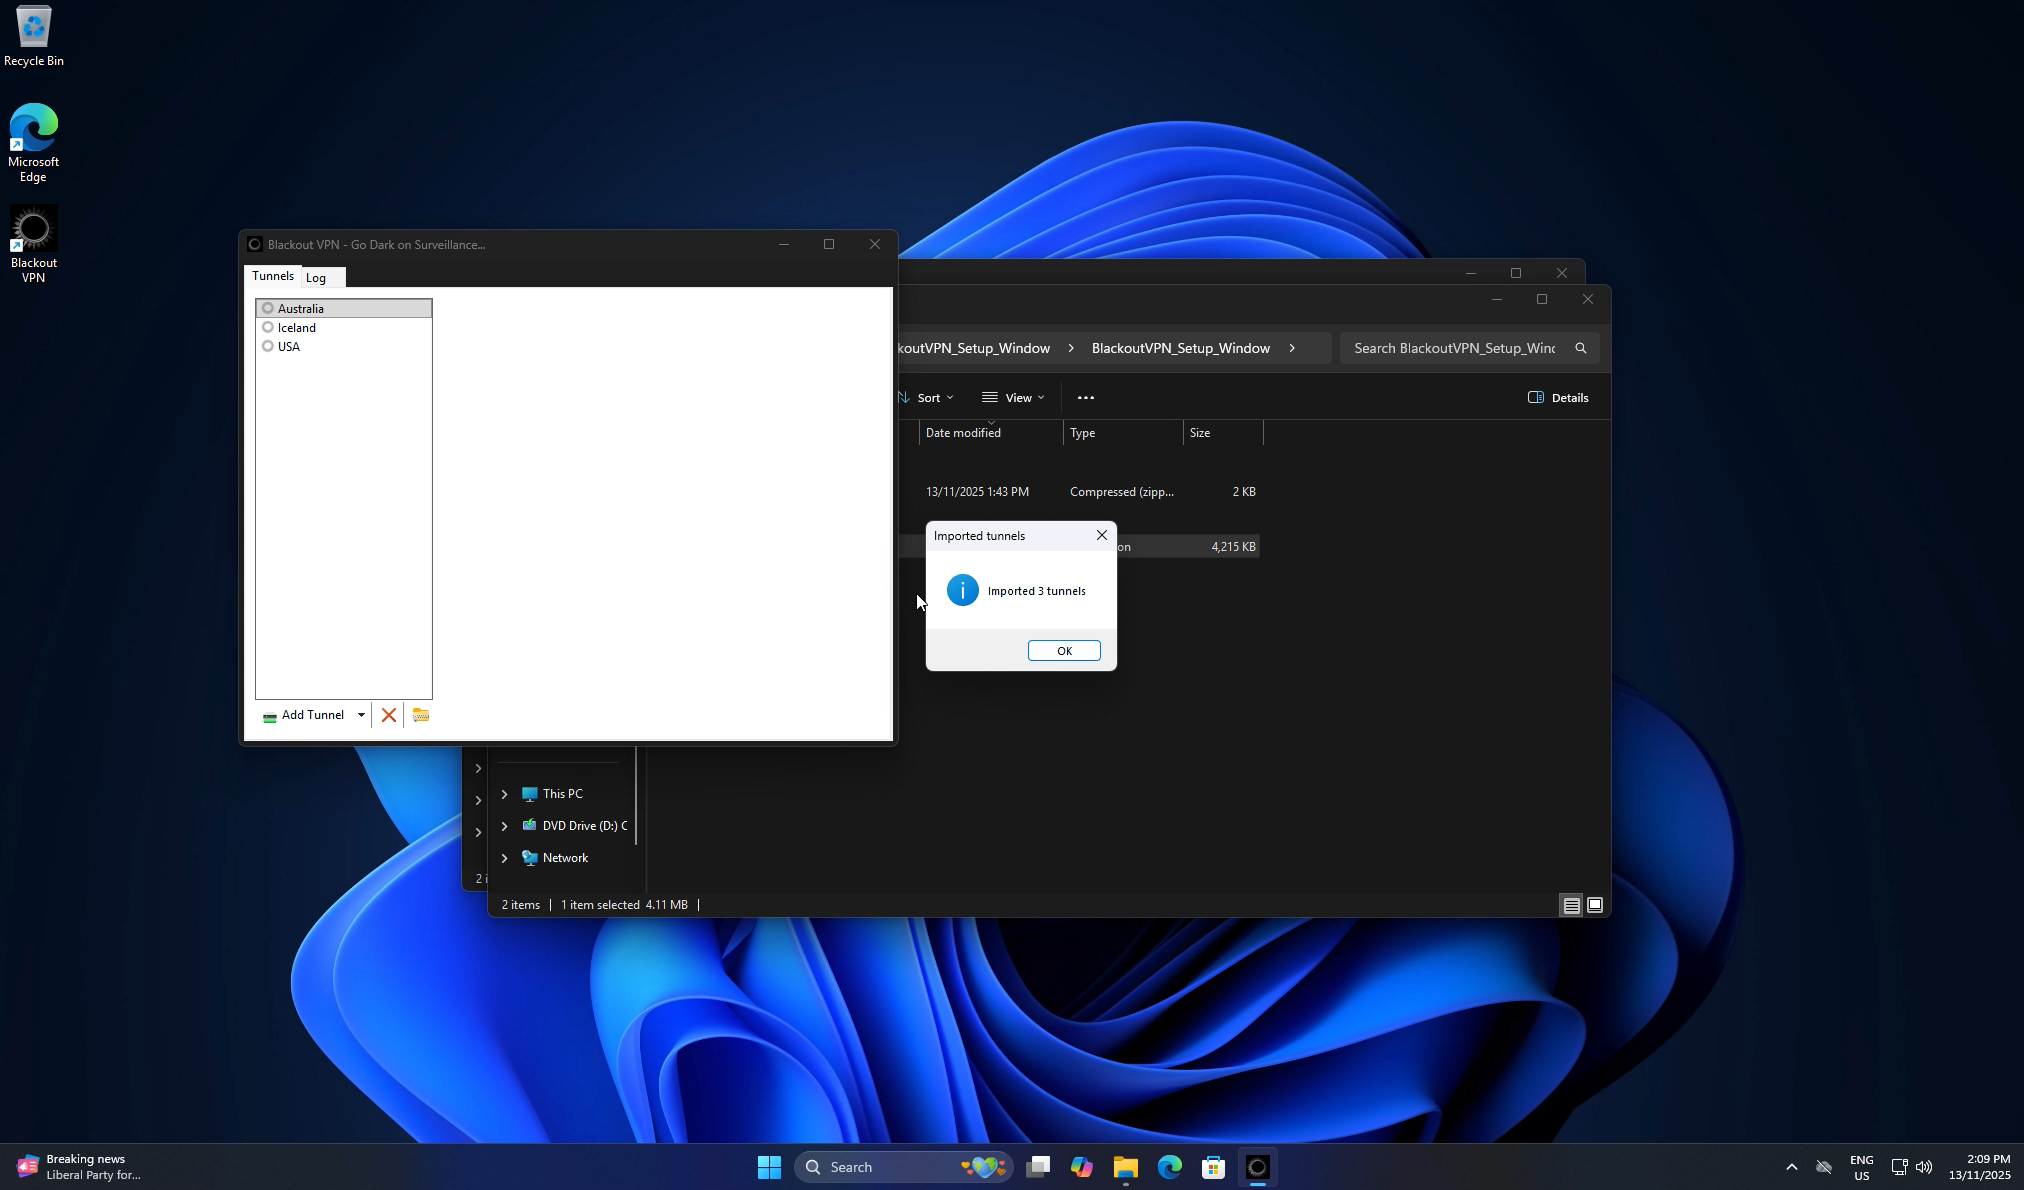
Step 10. Activate and connect›
Select your preferred region, click Activate, and wait for the status to turn Active. You are now connected through Blackout VPN.

Prefer manual setup?
Download the standard installer and import your .conf or config.zip key files yourself. These come with your download link after purchase.
Version: v2.0.4.2
SHA256: F9355FF03D6C2A96A2A86FDDD2EEB81B85B787BB6FB9A20E497C28D2728AF97C
File size: 4.11MB